You have no items in your shopping cart.
All-in-One Grow Bag Instructions
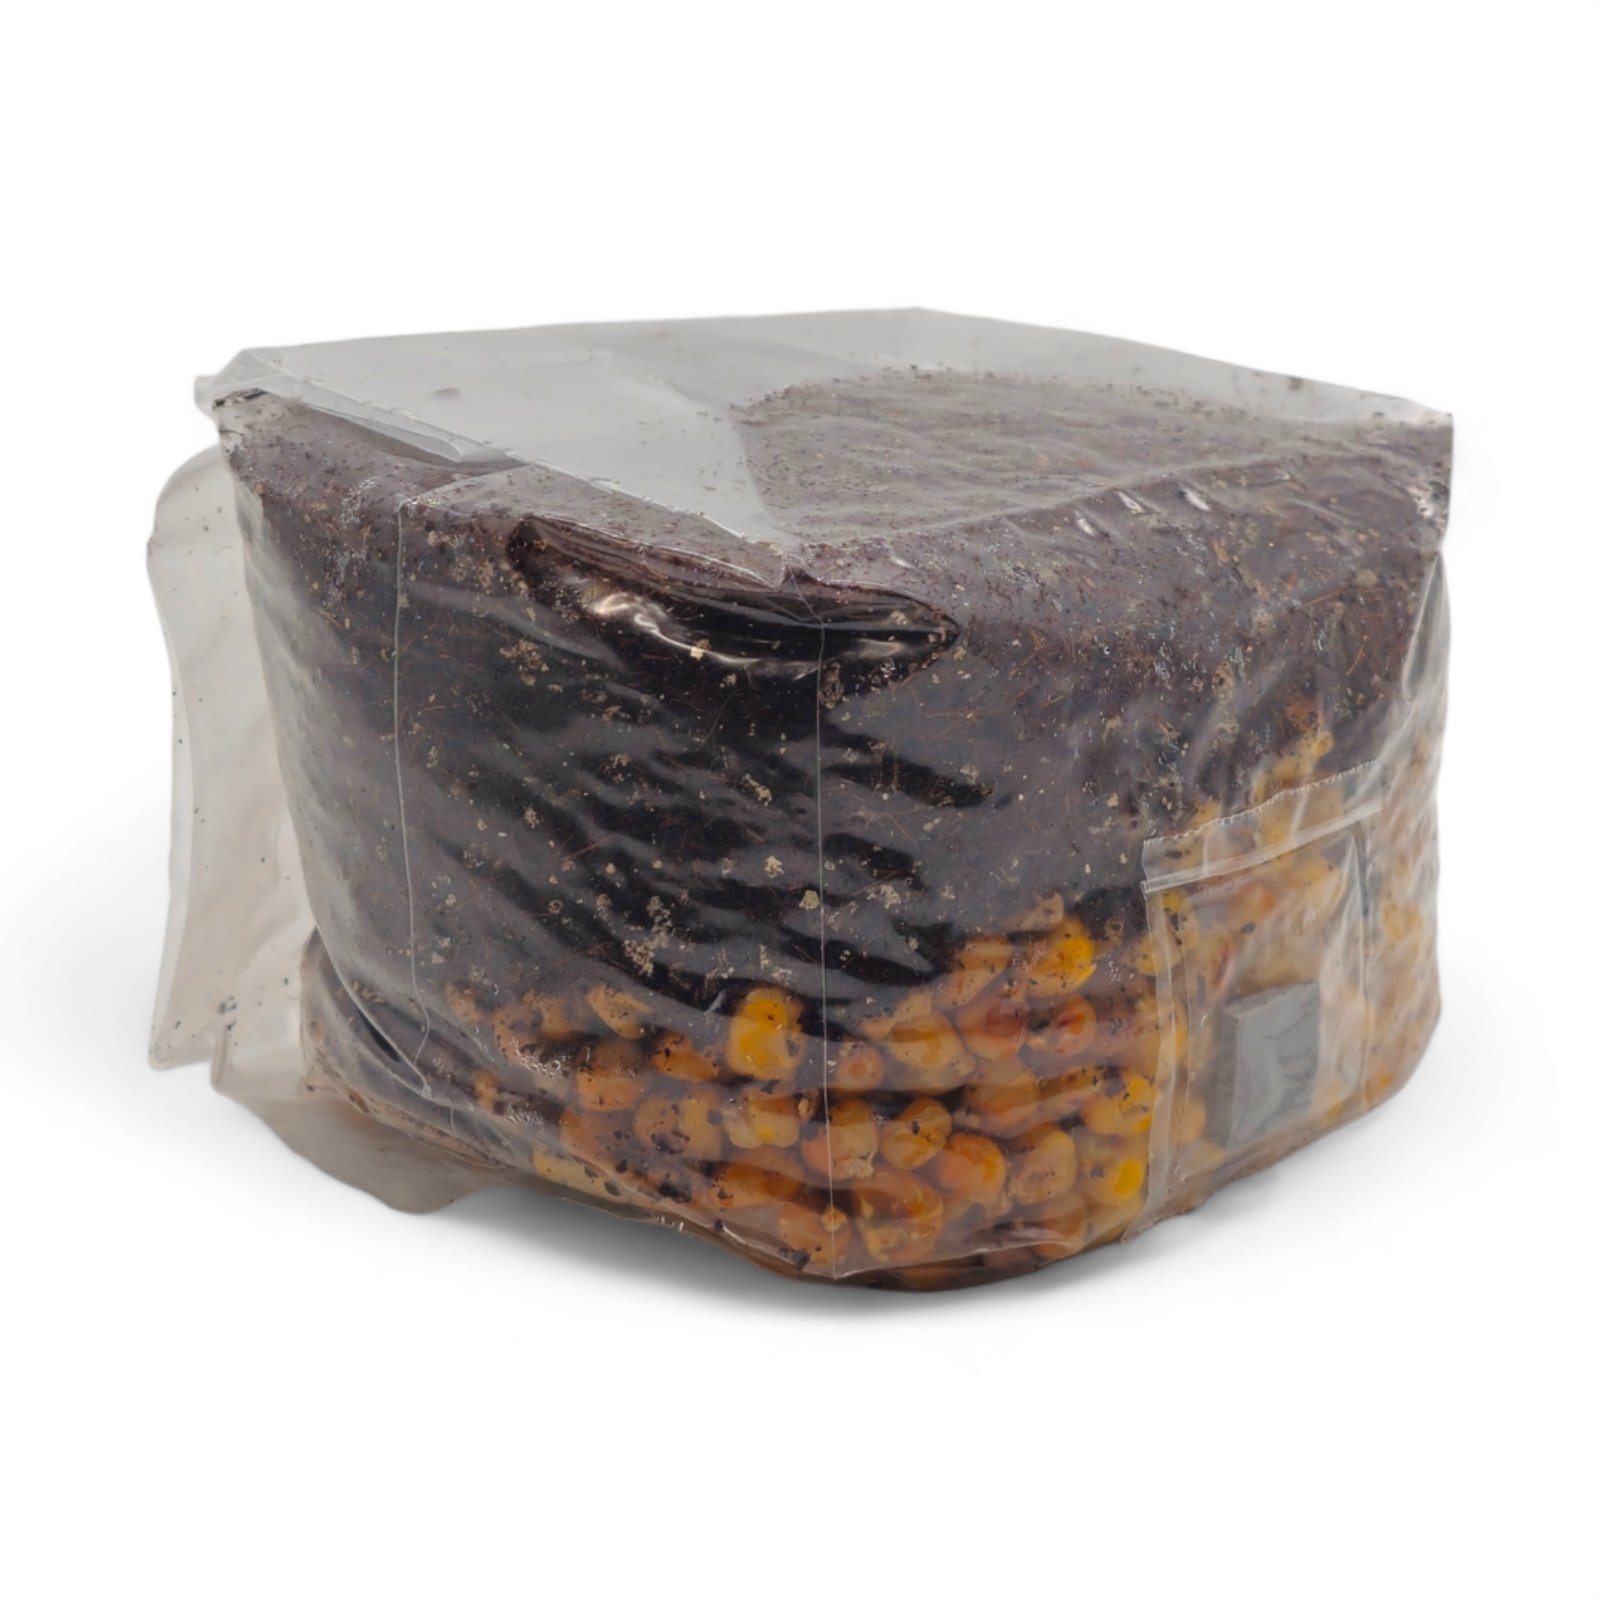
These instructions are meant for the All-in-One Mushroom Grow Bag.
How to get mushrooms in four steps within a few weeks
-
Inoculation: Injecting the or spores or the liquid mycelium [1 day]
-
Colonization: Develop the first mycelium [1-3 weeks]
-
Mixing: Blend the two layers [2-4 weeks]
-
Fruiting: Growing the mushrooms [2-4 weeks]
Inoculation: Injecting the spores
-
Locate the injection port on the substrate bag. Disinfect it with an alcohol swab. Do not touch it again!
-
Live mycelium should not be shaken. Spores syringes should be shaken well for 10 seconds. This will loosen the spores from the sides and distribute them more evenly through the solution.
-
Take the syringe, and if needed, sterilize the needle, red hot, with a torch lighter. Let the needle cool for a few seconds.
-
Inject the needle of the syringe into the bag. Add all of the mushroom injection liquid to the substrate kit. If the flow blocks, gently pull the needle back a bit. Inject the full 10ml syringe into the grow bag.
⚠️ Important: Do not mix the bag!
Colonization: Develop the first mycelium
Mixing: Blend the two layers
When the corn is halfway colonized, you may mix the two layers in the bag, but do not open the All-in-one Mushroom Grow Bag. Here is how:
-
Take the bag and squeeze the grow bag with your hands to break up the colonized corn into small pieces.
-
Mix the broken-up mycelium well with the rest of the substrate.
-
After all the substrate is mixed, press the substrate tightly back into the bottom of the bag. If this is nice and tight, there is less chance of side pinning.
-
Place the bag back in the same warm place it was growing before at the same temperature (24-28C)
⚠️ Important! Do not mix the substrate again. This could cause the bag to contaminate.
Now, wait until the whole substrate has become colonized. This colonized substrate block is called the cake. Once the cake became completely white you are ready for the most exciting step.
Fruiting: Growing the mushrooms
It is finally time to set up the growbag for the fruiting stage. Once again, make sure to clean your hands and close the windows.
-
Start by thoroughly sanitizing your workspace with surface disinfectant.
This includes disinfecting your scissors and the outside of the All-in-One Mushroom Grow Bag itself. Everything must be clean to prevent contamination. After sanitizing, let the bag sit in your work area for several seconds. This allows any residual disinfectant to evaporate. Once that’s done, take a clean paper towel and wipe the bag dry. This step is crucial because moisture can lead to unwanted mould growth. Finally, put on a pair of gloves to protect both your hands and the mushrooms. After putting don't the gloves gloves, clean your hands and the workspace again with surface disinfectant to ensure a sterile environment.
-
Prepare the Cake
Next, take your rubber band and place them around the fully colonized block of substrate. Position the rubber band roughly 2cm below the surface of the cake. This is an important step because it helps to create a tight seal around the bottom of the cake. As you do this, try your best to work any pockets of air that may be trapped above the rubber band. This will help ensure that the bag is snug around the cake. The purpose of the rubber band is to cut off oxygen to the bottom of the block, which helps prevent side pins from forming. After securing the rubber band, use your disinfected scissors or utility knife to cut a slit that is 2-5cm above the substrate. Make sure that the slit matches the width of the filter patch on the bag. This will allow for proper air exchange, which is vital for the growth of your mushrooms.
-
Wait for Primordia
After making the cut, let the bag sit undisturbed until you see primordia, which are the tiny pins or baby mushrooms, appearing on the surface of the block. This process usually takes about a week, but it can take longer depending on various environmental conditions such as temperature and humidity. It’s important to be patient during this stage, as the appearance of primordia is a sign that your mushrooms are beginning to grow.
-
Enhance Air Exchange
Once you notice that pins have formed, it’s time to extend your cut line across the front of the bag. This will introduce more fresh air exchange, which is crucial for the healthy development of the mushrooms. Fresh air is necessary for the mushrooms to grow properly, as it helps to prevent the buildup of carbon dioxide, which can hinder their growth.
-
Create a Humid Environment
As the mushrooms continue to develop beyond the pinning stage, you will need to cut a hood into the bag. To do this, extend the cut line around the sides of the bag while leaving the back of the bag completely intact. This creates a hood that allows for better humidity control. You can now humidify the inside of the growing environment by spraying water up into the hood. It’s perfectly fine if some droplets roll down into the substrate, but try to avoid spraying the growing mushrooms or the substrate directly. Maintaining the right humidity level is essential for the mushrooms to thrive.
-
Harvesting Your Mushrooms
When the mushrooms are ready, it’s time to harvest them! Be sure to check the size and appearance of the mushrooms to determine the right time for harvesting. (Refer to the Harvesting section below for more detailed instructions on how to properly harvest your mushrooms.)
-
For Multiple Flushes
If you want to encourage multiple flushes of mushrooms, follow these steps:
Add Humidity
To add humidity to the growing environment, spray the sides of the bag and up into the hood several times over the course of a few hours. This will give the added moisture time to be absorbed by the substrate rather than pooling at the bottom of the bag. Proper humidity is key to promoting further growth.
Close the Bag
After adding humidity, close the bag by tilting the hood down around the bottom of the bag. This will help trap in the carbon dioxide and humidity that are needed for a second flush of mushrooms. It’s important to maintain the right conditions for the mushrooms to continue growing.
Repeat the Process
Repeat steps 3-7 until your block is spent and stops producing mushrooms. Each flush may yield fewer mushrooms than the last, but with proper care and attention, you can enjoy multiple harvests from your All-in-One Mushroom Grow Bag.
By following these detailed steps, you can successfully fruit your All-in-One Mushroom Grow Bag and enjoy the rewarding experience of growing your own mushrooms. Patience and attention to detail are key to achieving the best results. Happy growing!